How to Install a Godex RT700i Label Printer (with Printer setup for new labels)
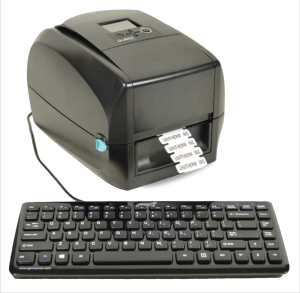
Godex RT700i Label Printer
First, follow the printed instructions provided in the shipping box by Unitherm, Inc. These instructions explain how to setup the label printer as a stand alone printer using its own keyboard.
To connect the printer to the Helmet Tracker application, use the following steps:
- Turn on the Godex RT700i label printer and plug in the USB cable.

- Download the latest printer driver from: https://www.bartendersoftware.com/downloads/printer-drivers/godex-rt700i/
- Find the driver file in your downloads folder and run the file.

- Read and accept the license agreement, then press the Next button.

- Select the folder where you want the files installed, then press the Next button.

- Select the Finish button.

- Install the print drivers by selecting the Next button.

- DO NOT select the 'USB' option. Instead, select the 'Other' radio button to install the printer on a Serial port, then press the Next button.

- Select the Godex RT700i label printer from the list, then press the Next button.

- Select the USB001 Port, then press the Next button.

- Enter a name for the printer, then press the Next button.

- Select the Finish button.

- Restart your computer and the label printer.
- To verify the printer installed OK, left click on your Windows icon, then click on the Setting icon.

- Click on the Devices icon.

- On the Printers & Scanners screen, verify the Godex label printer shows up. If you gave it a different name, that will show up here.

- Click on Godex RT700i and "Manage"

- Printing Preferences:

- Select "New"

- Add Name "HTLabel" Enter this information. OK

- Go to HT application: Reports, select Label

- After you have "Added" your report, "Run Report" and "Print Report"

- Print Report (printer icon)

- Ensure Destination Printer is Godex Rt700i and paper size is HTLabel. Print.


